 h3 flex
Pika H3 Flex Image to Video: First and Last Frame Guide
Learn how to prepare images, plan first and last frames, describe motion and review a Pika H3 Flex image-to-video result with audio.
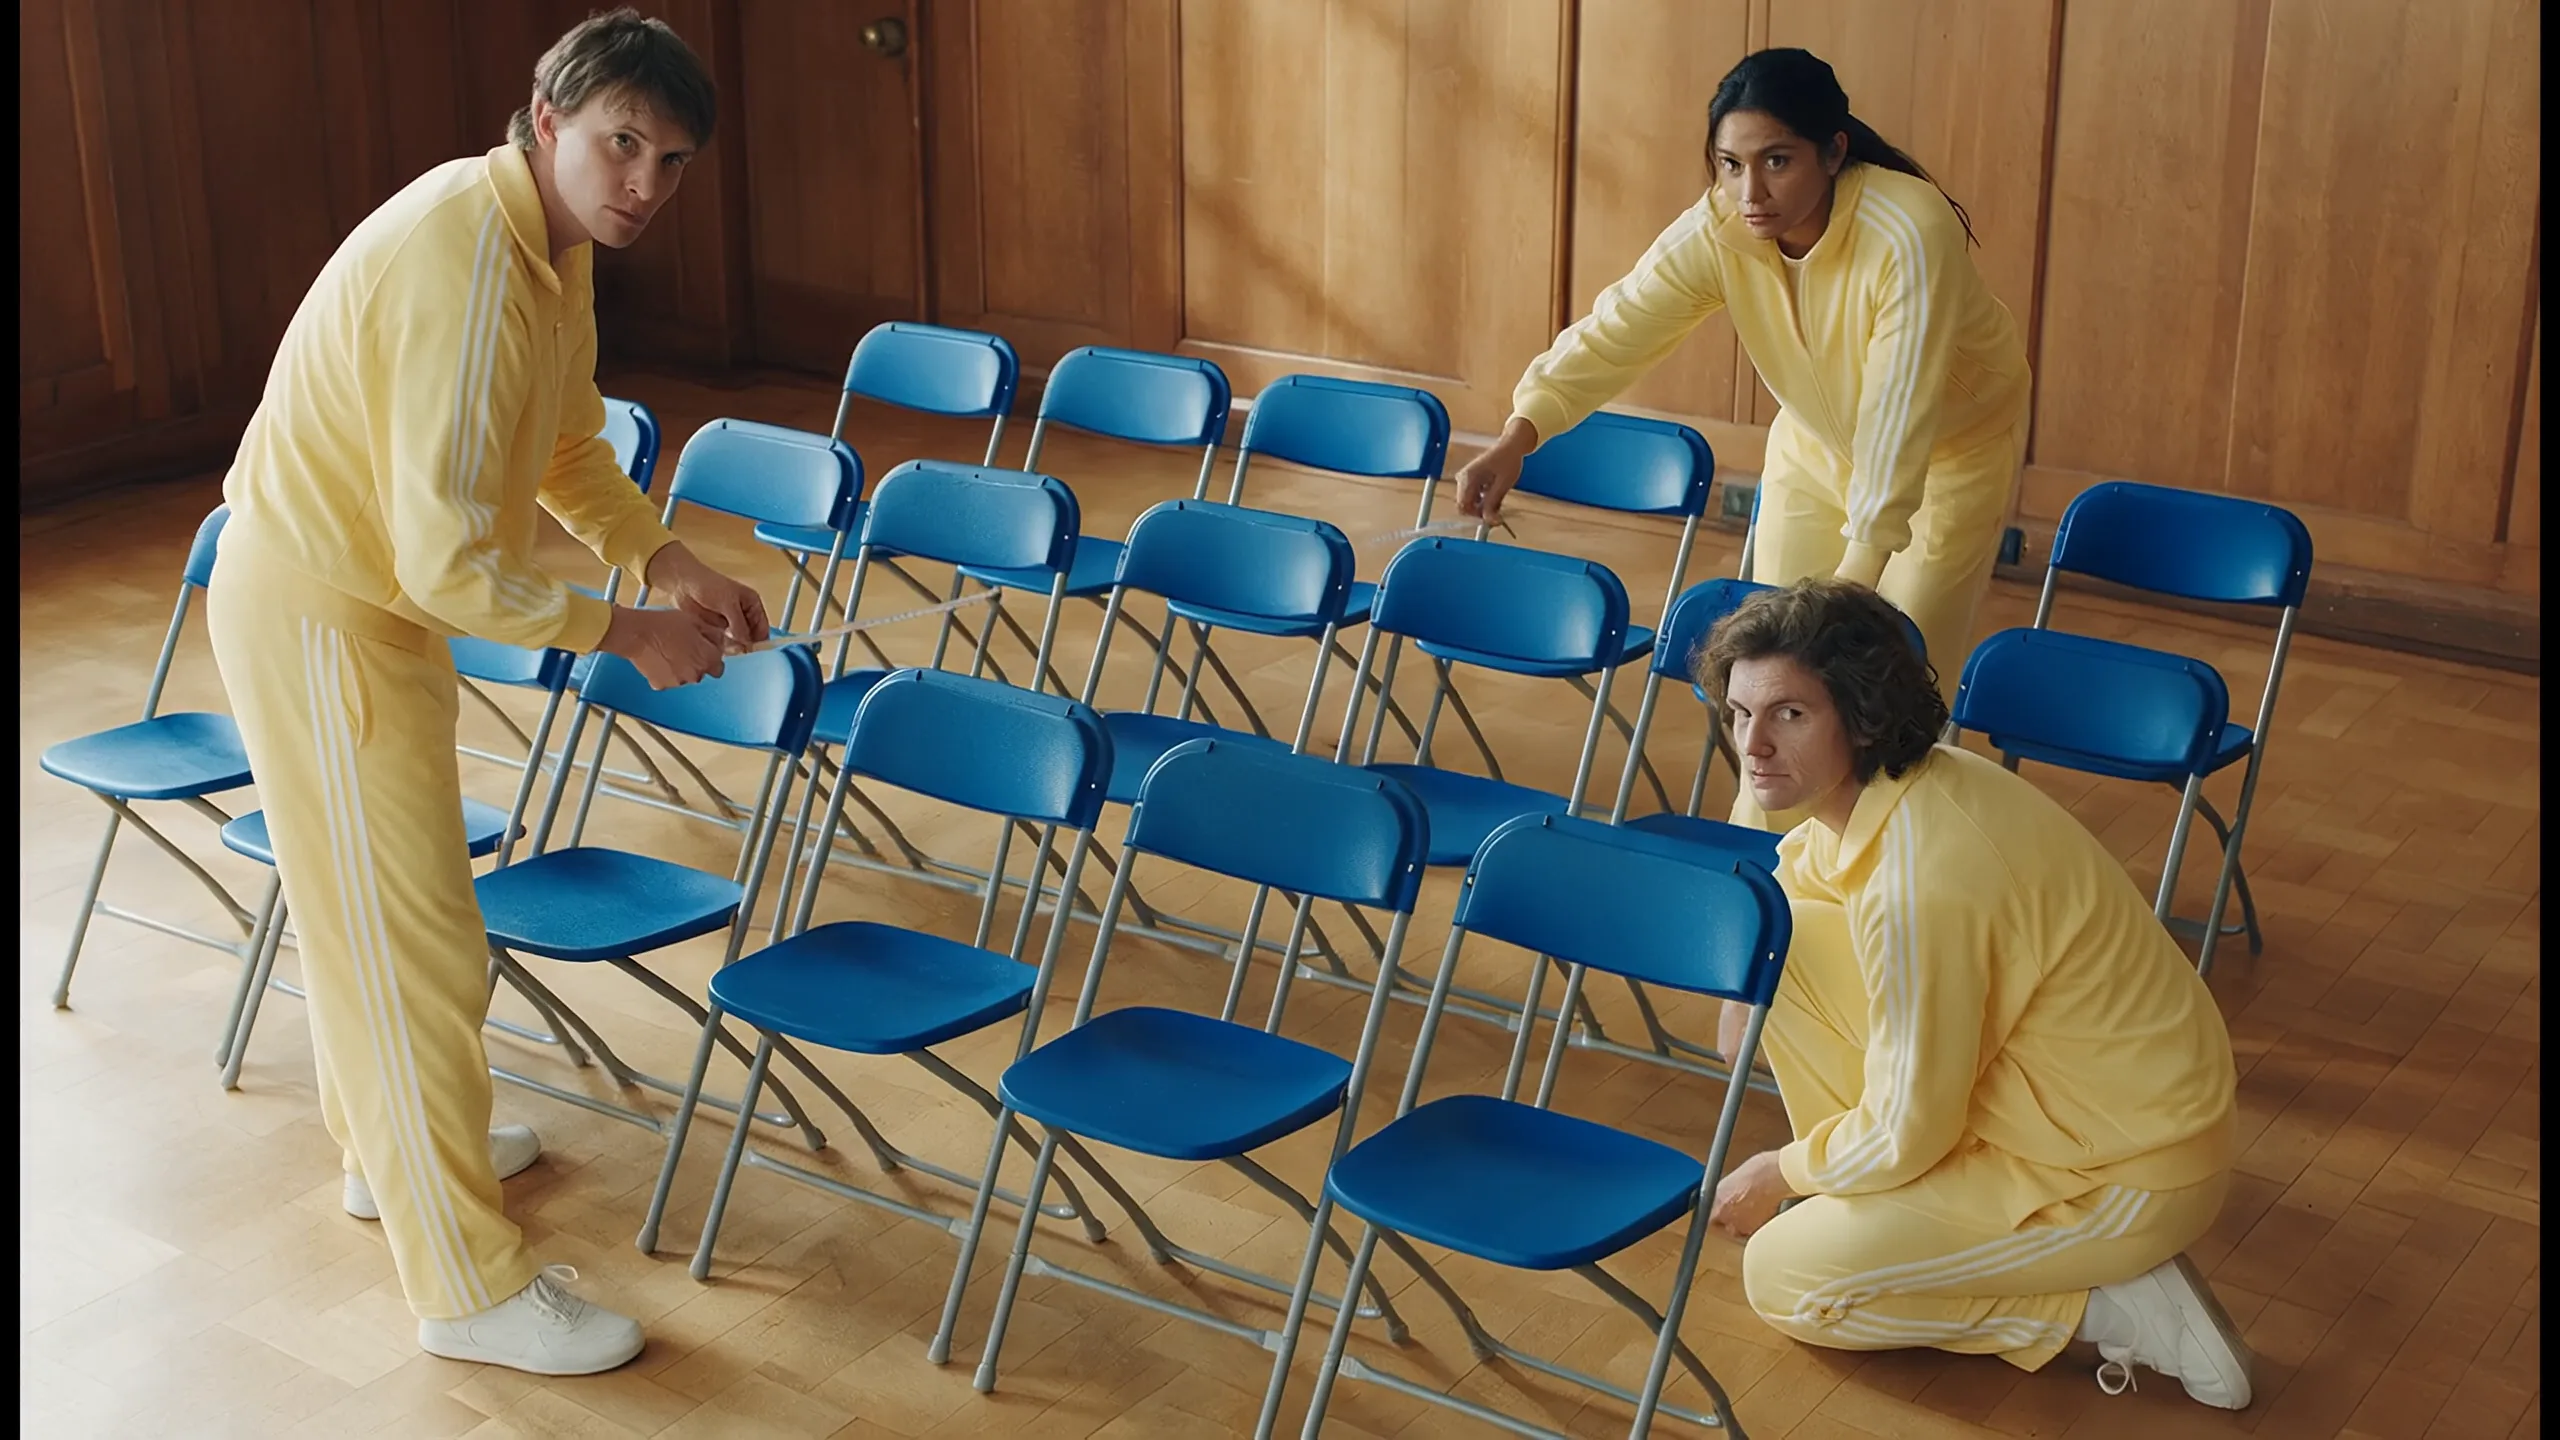
Image to Video begins with a visual decision you have already made. Instead of asking the model to invent the whole composition from text, you supply a frame and describe how the scene should develop. This is useful when the photograph, product arrangement or portrait matters as much as the movement.
Prepare a frame with room to move
Choose a clear subject and inspect the edges of the image. If a person will turn, leave room in the direction of the turn. If a camera move will reveal more of the scene, remember that details outside the original frame must be inferred. Avoid treating that inference as a precise reconstruction of a real location.
The H3 Flex uploader accepts JPEG, PNG and WebP images up to 10 MB per file. These are service upload rules. Sign in before uploading and use only images you have permission to process. A supported file format does not establish permission to use the content.
Decide whether the end frame matters
First frame only
A single starting image is useful for a small movement: steam rising, cloth shifting or a subject glancing toward a window. The prompt explains what should change. Begin with a restrained action so you can judge whether the subject remains readable through the clip.
First and last frame
Add a closing frame when the final composition is part of your idea. Prefer images with compatible subject, framing and visual style. Two unrelated pictures do not automatically produce a meaningful transition. Describe the intended change between them, including how the camera should behave.
Pika's official image workflow documents first-frame and last-frame control. The H3 Flex interface uses a first-frame upload and an optional closing frame as its primary flow.
Write motion rather than a caption
“A woman beside a window” describes what the image already shows. A motion instruction explains the next moment: “She slowly turns toward the window while the curtain moves in a breeze; the camera holds a medium shot.” Add a sound direction, such as quiet room tone and fabric movement, if that supports the scene.
Avoid demanding many large transformations in one short take. A subtle motion may preserve the original visual intention more effectively than a full change of pose, environment and camera angle.
Choose an aspect ratio before generating
Consider where the clip will be published. A wide source image and a vertical destination may not preserve every edge detail. Keep important text and faces away from the crop boundary, and inspect the generated composition rather than assuming the upload will fit unchanged.
H3 Flex offers 5–15 second clips. Check duration, output size and the displayed credit cost in the image-to-video studio before submitting.
Review the picture and the sound together
Watch the whole result. Check edges, hands, product details, the final pose and the fit between sound and action. These are editorial checks, not a claim that the model will reproduce every detail faithfully. If one movement fails, simplify that instruction and keep the rest stable for the next test.
For multiple images that should guide a new scene rather than define a first-and-last sequence, use Reference to Video in the studio. H3 Flex currently supports image references in that separate mode. To develop the wording, read the prompt guide.